Do you ever buy craft supplies on a whim, just because they are so pretty and even though you've got no idea what you are going to do with them?
Thought so. Me too. Just such a whim struck me at a craft show earlier this year and I bought a skein of multi-coloured recycled sari ribbon yarn. I can't remember the name of the company I bought it from, but it was similar to
this one.
Fast forward a few weeks and I was browsing on Pinterest when I came across
these. "How lovely", I thought, followed quickly by "I could do that"
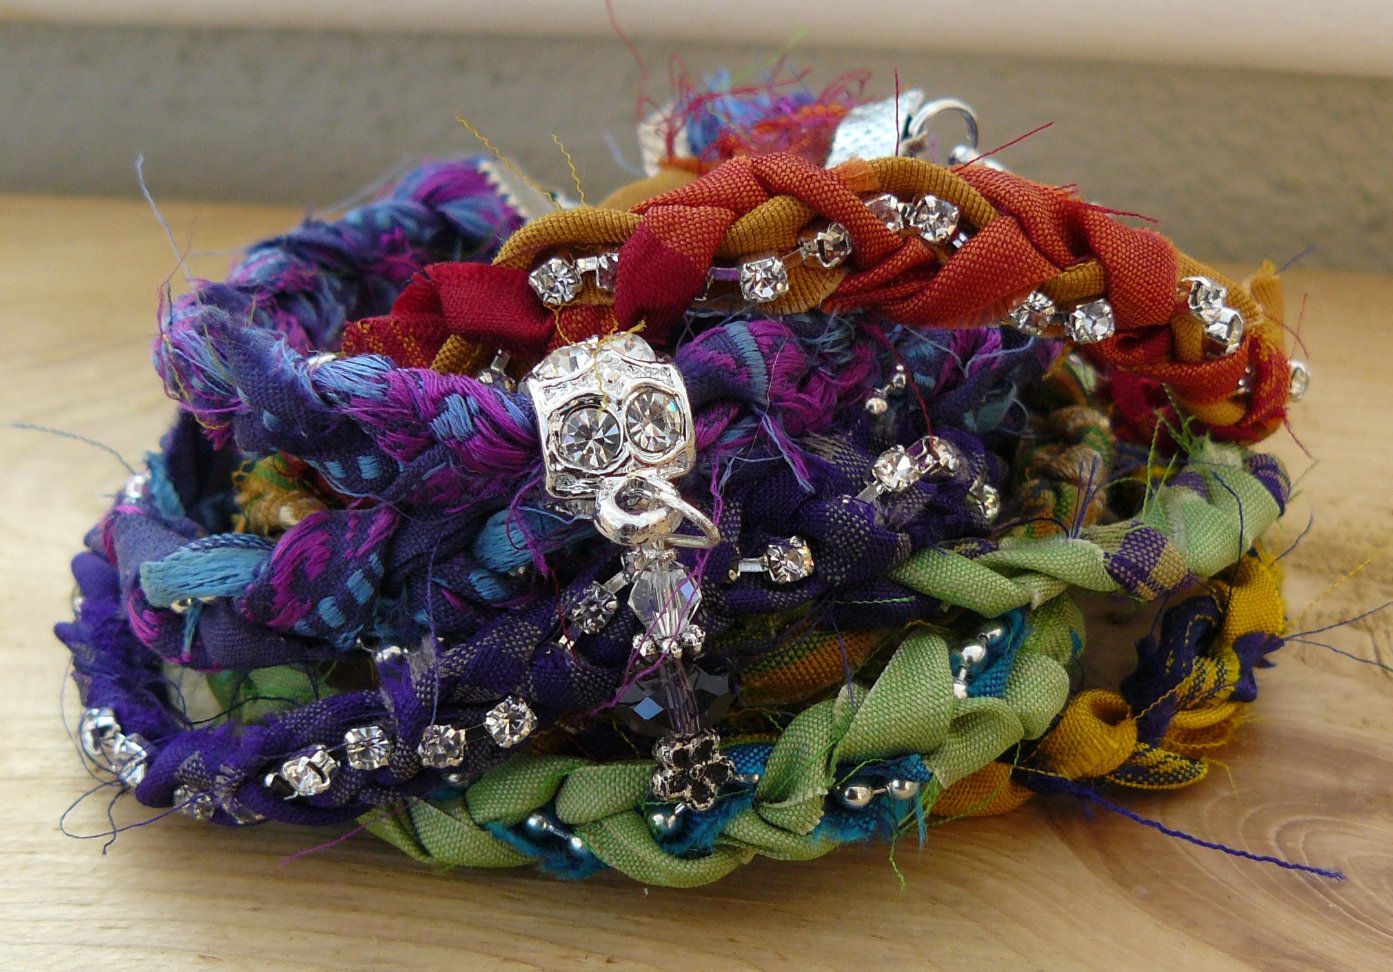
Here is my version:-
Do you want a tutorial ~ honestly, you hardly need one, but anyway here is what I did:-
You'll need: sari ribbon yarn, ribbon clamps, jump rings, clasps, pliers and glue. Optional extras: bead chain, diamante chain, charms and charm carriers
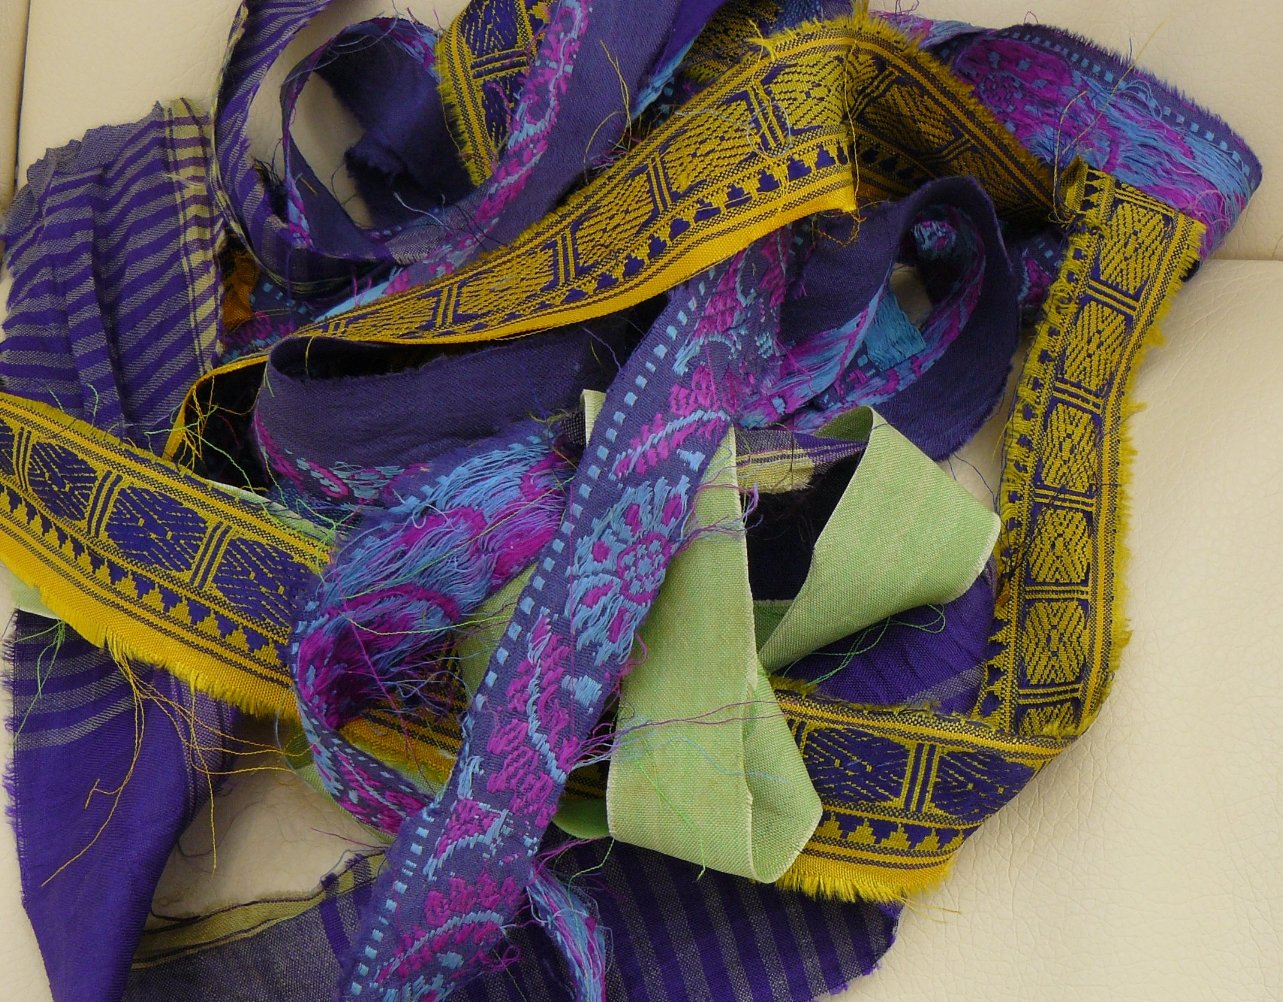
Step 1. Select lengths from the sari yarn.
Step 2. Cut into lengths. You'll need them longer than your wrist as you'll be plaiting them and so they'll end up shorter than the cut length. I cut mine to about 30cm long, which is a little more than necessary, but better to have too much than too little. I also trimmed mine widthwise to about 1cm wide.
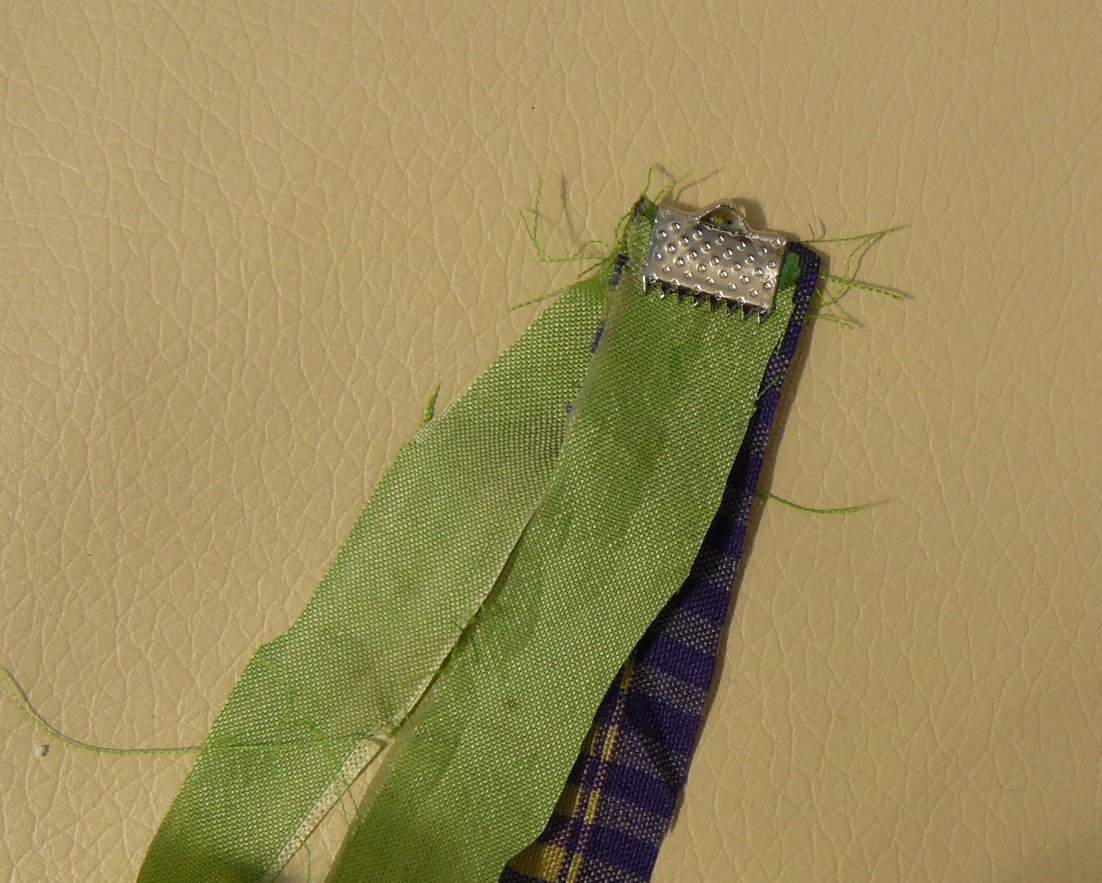
Step 3. Select three lengths. Holding all three ends together, dip them in a little strong craft glue and then squeeze into a ribbon clamp
Step 4. Plait them together, pulling quite tightly, until plait is desired length
Step 5. Holding all three ends together trim straight across
Step 6. Glue and attach a 2nd ribbon clamp as before
Step 7. Use jump rings to attach clasp to ribbon clamps
Step 8. Repeat with different colours until you have an armful
And you're done.
To vary them up a bit I've squeezed a length of ball chain or diamante chain into the ribbon clamps with the centre ribbon on some of them, and plaited it along with them. You'll need to attach it right in the centre of the ribbon clamp so it will close around it, and make sure it has a drop of glue on it too. With one of them I slipped a diamante charm carrier onto the plait before I placed the 2nd ribbon clamp, then attached a small bead dangle
I'm thinking they'd look really pretty made from strips cut from liberty print cottons with pearls worked in too.
Linking this up to
Think Pink Sundays at Flamingo Toes and
Make it Wear it at The Train to Crazy


 and not a post about sodium at all.
 Do you ever buy craft supplies on a whim, just because they are so pretty and even though you've got no idea what you are going to do with them?